Grow it. · PickleRadio
Cucumber seedlings collapsing at soil level: what to do next
Check the stem where it meets the compost. A rotting, collapsed base needs a different response from a long, leaning stem: protect the other seedlings and prepare a clean restart.
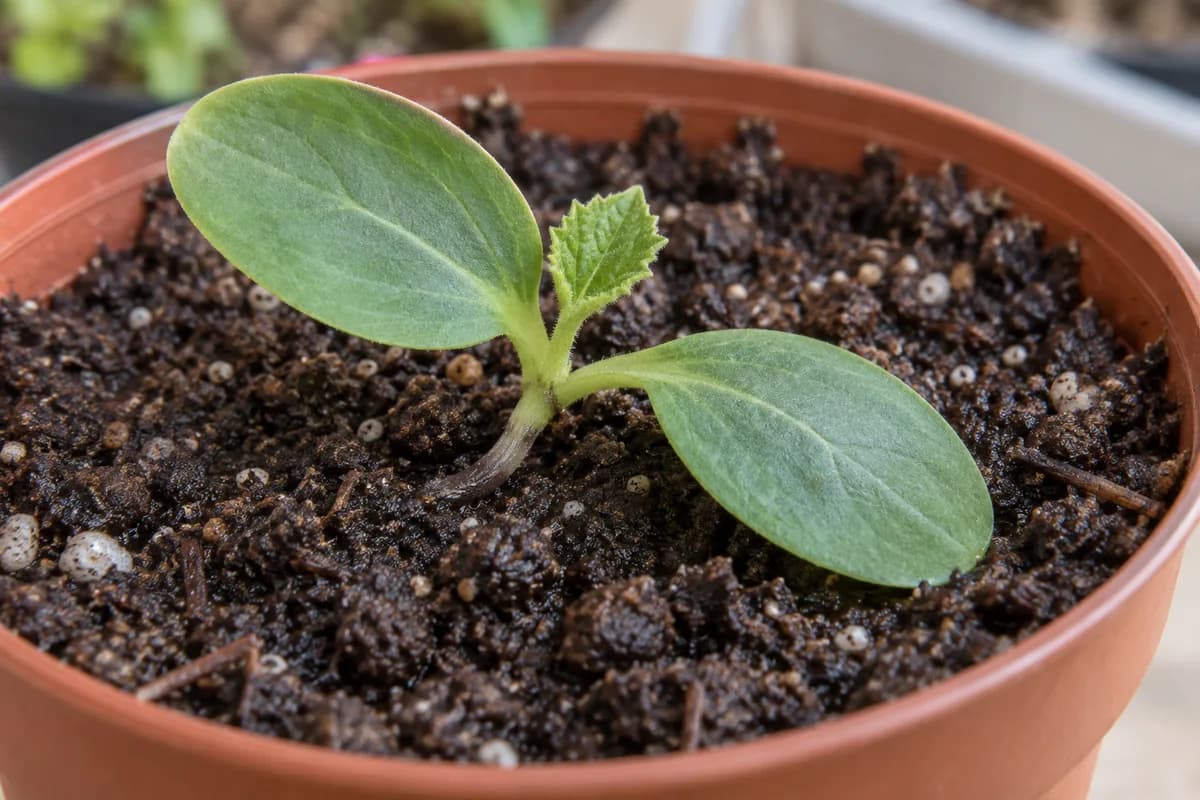
In this guide8 sections
Set the affected pot aside and inspect the base
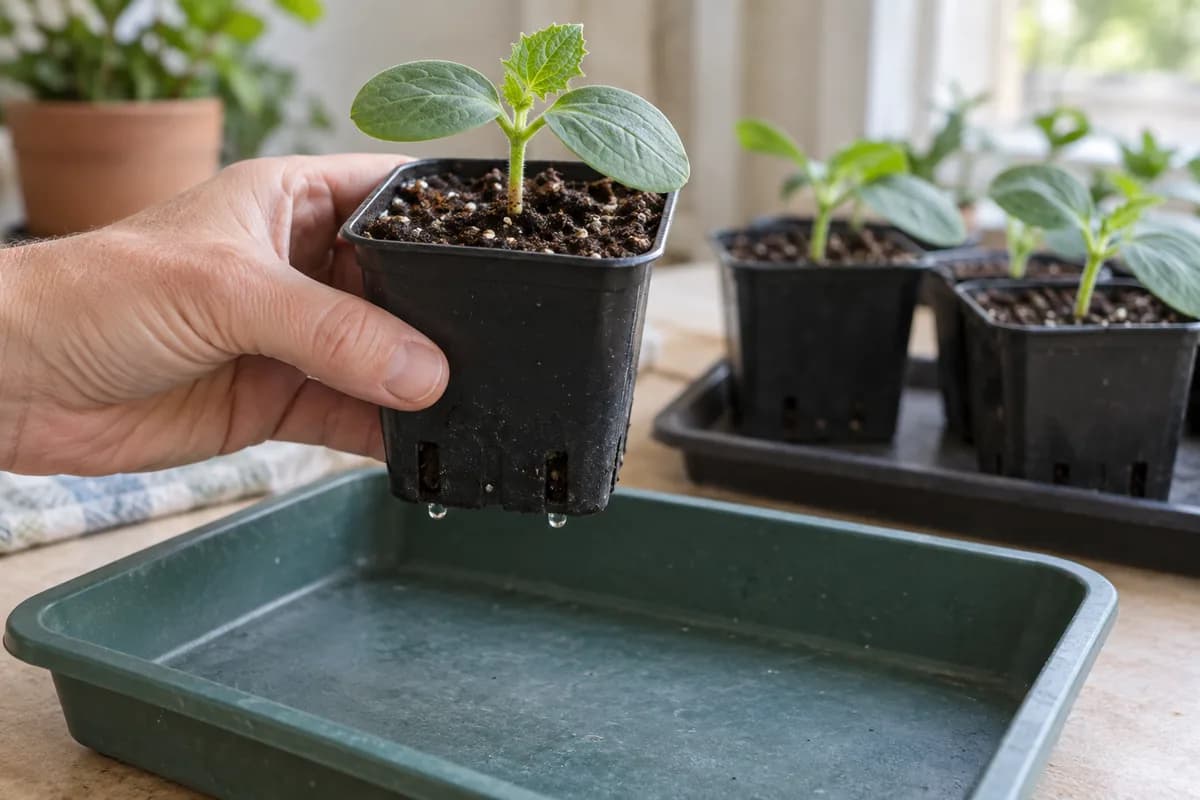
Lift the pot by its container and set it on a separate clean tray. Look where the stem enters the compost before adding water or trying to straighten it. Is that short section firm, or has it become soft and narrow enough to fold?
A water-soaked, thinning stem is among the damping-off signs described by Minnesota Extension. The problem can develop after a seedling has emerged and opened its first leaves. Keep runoff from the affected pot away from the others: the same source explains that damping-off organisms can move through shared irrigation water.
Take a close photograph of the base and one of the whole pot while the damage is visible. You can use them to compare the remaining seedlings or show a plant adviser.
Check whether this is the right problem
A fallen plant is not enough for a diagnosis. The Wisconsin Plant Disease Diagnostics Clinic cautions against identifying diseases by eye alone. Use the condition of the stem and what happened beforehand to choose your next step.
- Long, leaning stem with a firm, intact base: follow the leggy cucumber seedling checks for light and growing space.
- Leaves drooped after a move, with the base still intact: check the rootball and exposure in our cucumber transplant-shock guide.
- Nothing ever emerged: use the germination troubleshooting guide.
- Stem is visibly chewed or severed: inspect for physical damage or pests. UC IPM lists several pests that can damage young seedlings; a bite mark does not identify damping off.
Can a collapsed cucumber seedling recover?
A seedling killed by damping off cannot be saved, according to Wisconsin’s recovery guidance. When the base is rotting and has completely given way, our choice is to remove that seedling and spend the effort on the others. A stake cannot repair decayed stem tissue.
UC IPM recommends removing and discarding diseased plants. Carry an individual affected pot away before emptying it. Keep its contents out of the fresh growing-mix bag and replacement pots. If several seedlings share one container, do not transplant the remaining ones into your clean replacement sowing as a rescue shortcut.
This is a decision about a collapsed, decaying plant. A healthy but leaning seedling belongs with the light and support checks above.
Give the remaining seedlings a better setup
Inspect the other stem bases without digging around their roots. Keep apparently healthy pots separate from the affected pot and its runoff while you check the setup.
- Remove the germination lid from emerged seedlings. RHS indoor-sowing aftercare calls for uncovering them as soon as they appear and keeping them in a bright position.
- Check for standing water in the tray and make sure drainage holes are clear. Empty pooled water without pouring it through another seedling pot.
- Feel the mix before deciding to water. The RHS moisture target is moist compost that neither dries out completely nor stays saturated. Withholding all water from a living seedling is not a recovery plan.
- Clean the work surface and planting tools before handling a replacement sowing. Minnesota identifies dirty equipment and old growing medium as possible routes into a tray. Keep used tools out of the clean mix.
Restart with fresh mix and a clean pot
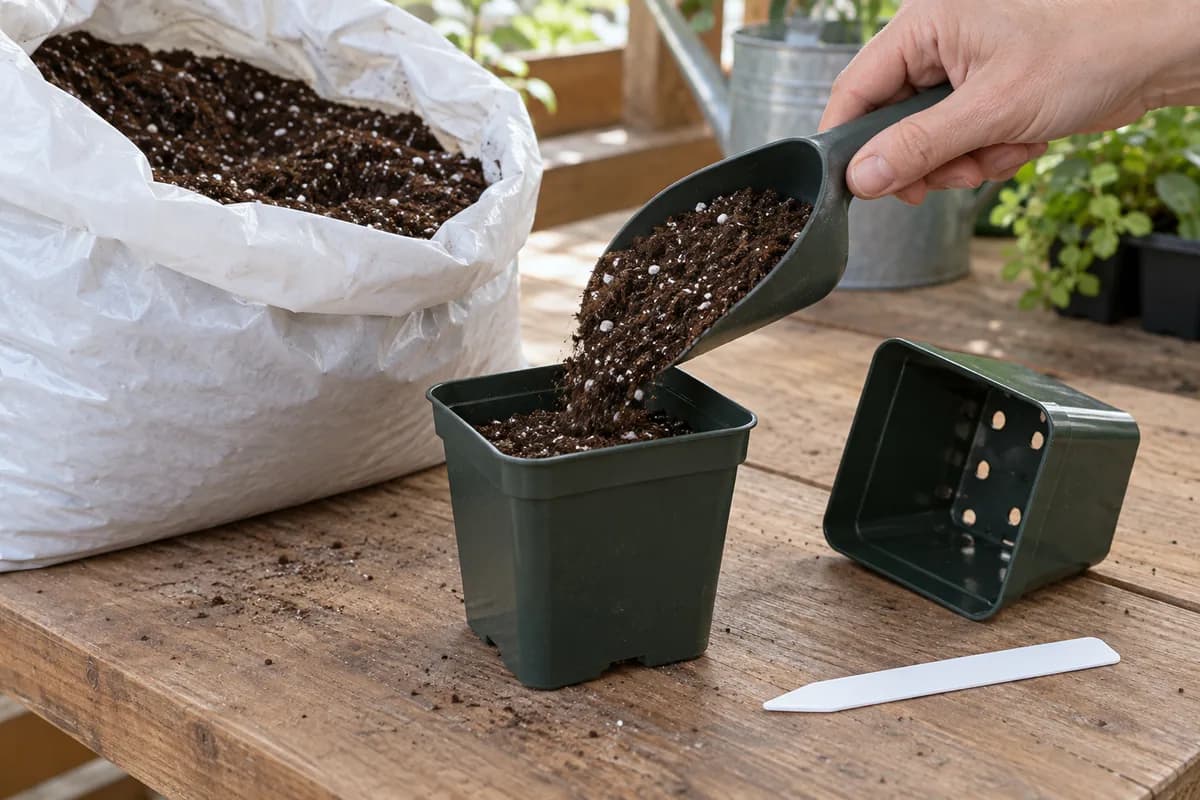
Use a new pot with drainage holes and fresh commercial seed-starting mix. RHS recommends commercial growing compost for raising seedlings, and Wisconsin advises against reusing plastic pots that have had damping-off problems. Brushing the old mix out of an affected pot is not our recommended restart.
In UK gardening language, “seed compost” means a formulated growing medium. It is different from material taken from a garden compost heap. Choose a bag intended for sowing seeds and keep it away from the suspect mix.
Follow the individual-pot method in our cucumber sowing guide. Label the new sowing with its date, and prepare its bright growing-on position before it emerges. Check the remaining growing season before starting again; a healthy bought plant may be a more practical replacement if time is short.
Why did this happen when I hardly watered?
How often you used the watering can does not tell you how long the mix stayed wet. RHS describes crowding, high humidity and poor air movement as favourable conditions for damping off. Cool, dim spring conditions can also slow seedling growth.
Look at the actual pot: was it sitting in runoff, packed against other leaves or still beneath a closed lid after emergence? Correct the conditions you find. Moving the same damp, crowded setup elsewhere without changing it gives the next sowing little advantage.
Repeated losses need a closer look
If seedlings keep failing after a clean restart, ask a local horticultural adviser or plant clinic for help. Send the photographs with sowing and emergence dates, growing-mix details, temperature readings if available, and anything applied to the pots. Ask how to retain or submit a sample before disposing of the last affected plant.
Avoid adding a succession of household powders or drenches while waiting for advice. Recording the unchanged symptoms gives the adviser a clearer starting point than a pot that has received several undocumented treatments.
Sources
These UK and US primary references support the observations and prevention steps. None can identify the organism in an individual reader’s pot from a generic illustration.
Keep your project growing.
Still choosing? Find my cucumber.Sow your cucumber seeds
Get your seeds started and know what to look for as seedlings appear.
Read the guideIf the long stem has an intact baseHelp a long, leaning cucumber seedling
Inspect the stem, improve its growing conditions and decide which plants to keep.
Read the guideIf an intact seedling wilted after movingHelp a wilted cucumber transplant
Check the original root ball, exposure and stem before adding more water.
Read the guide